This list can be used in a variety of ways:
- An inventory, or stock list. If you retail new or used items, then list them here.
- A price list for standard items or services.
- Materials which you regularly use. List standard materials here and select the supplier. If you use the BOM tab of the Order form to create a list of materials required to fulfil that order, then you can use the 'Materials for Current Orders' report to give you a collated 'shopping list' of materials which you need to fill the current orders.
The way you use the item list will affect the way that you use the Purchased Items tab of Orders, and whether you set the 'Include Purchased Items' checkbox on the Financial Details of the Order.
If you use method 1 or 2 above then you will probably want to set the 'Include Items Ordered' checkbox on the Order so that you can print an invoice listing the items the customer has purchased.
If you use Method 3 and you are charging for time and materials, then you may wish to set the checkbox in order to pull the materials onto the invoice (you can also enter time on the BOM tab and include that on the invoice too).
If you sell kits (made of other items in your inventory) or sell an item in different quantities at different prices, v8 handles this, see collective items
As described in the Overview chapter, use the Search box to locate an item by any one of its text fields; title or details, for example.
To print an item list (inventory), use the Print button or select File > Print from the menu (command-P).
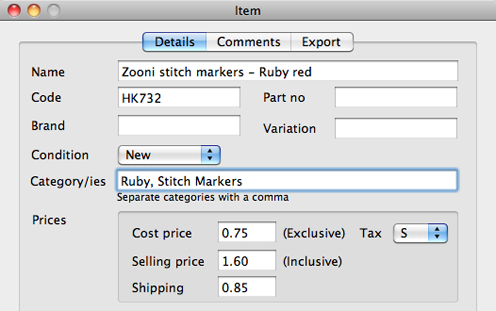
Create a new item by pressing the New Item button in the toolbar, or by selecting File>New>Item. Note that the 'Product code' field is auto-filled with a sequential number, but this can be overtyped if desired.
To print out the details in the Description field, click once inside that field to make it active and use the Print button or select File > Print
Images
You can add a picture of this item by simply dragging the image file's icon into this image well.
Categories
Organise v7.1 adds categories to Items. Items can be in one or more categories, or none. If you don't need to use categories then just ignore the categories box and all will work as before.
1. Categorising your items
You can type a category into individual items. For more than one category, separate using a comma:
Alternatively, you can set the category for more than one item by selecting them (hold down shift to select more than one item in the table, use the search box to find your items, ctrl-click or right-click to call this context menu):
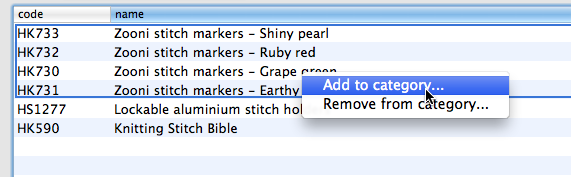
Note that you can remove multiple items from a category using the same method. To remove a category completely, choose it from the Filter box, select all items in the list and use the Remove menu item.
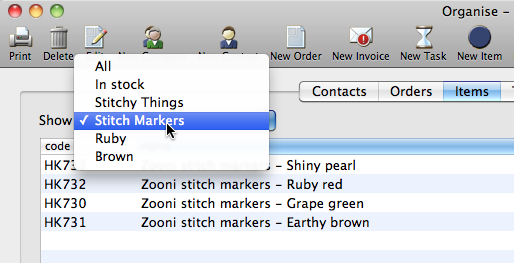
2. Using categories
The filter drop-down box will contain all the categories that you have entered. Simply select a category to see all items in that category. Alternatively you can type the category into the search box:
When adding an Item to an Order, you can type a category into the search box.
Reports that work on your inventory can now be tweaked to select items from a category.