
Note the following notes apply to the web download version of Organise. The Mac App Store version is able to create and switch between multiple database but is not currently able to share one database between users or devices. (Though I am working on iCloud support which will allow limited sharing between devices.) This is due to 'Sandboxing' which Apple insist on and is for your security.
Organise was originally written as a single-computer, single-user application. Organise Pro now allows some flexibility within limits.
The Pro 'Database management' option allows you to access your data from more than one computer, or allows more than one user to access the same database. It also allows one user to be able to switch between multiple databases.
Can I use Organise outside the office with the data available to others back at the office?
Yes. But...
- You will need to use a laptop running OSX. Organise won't run on iOS (iPad). Note that the Macbook Air isn't much bigger than an iPad.
- Only one user / computer will be able to use the full functionality of Organise. Other computers will see the data in 'read only' mode. They will be able to run reports, creat invoices etc, export information but not create new data.
- You will need to know your way around your Mac or your network because you will have to choose a custom database location which can be accessed by the user(s) or Mac(s).
- Copying and overwriting databases can lead to lost data. I can't look at problems relating to missing data unless it's a reproducable problem within the limitations described here.
Method 1 - mobile laptop
- Install Organise on all computers and buy a licence for each user.
- Use Organise on the laptop to create data.
- When the laptop is plugged into the network, Install Organise on the other computers.
- Choose a location for the database which is on a drive or computer that all desktop users are connected to and can access. (If there's just one other computer I'd suggest saving the database to ~/Library/Application Support/Organise/organisedatabase (where ~ is the other user's home folder or your home folder on the other computer) because this is the default location for an Organise database and you can skip step 6.)
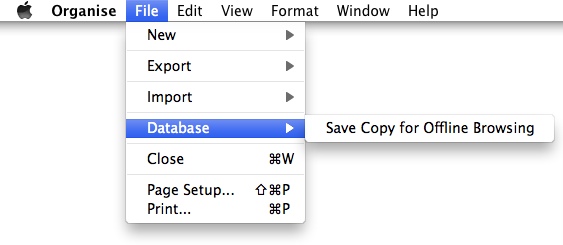
- Using the laptop, go to File>Database>Save a Copy and save the copy in your chosen location.
- Use Organise>Preferences>Advanced on all of the other computers to choose the database in its chosen location.
- To 'synchronise', repeat step 5.
Method 2 - all computers always connected
- Install Organise on all computers and buy a licence for each user.
- Choose a location for the database which is on a drive or computer that all users are connected to and can access.
- If you already have a database, use Finder to copy it or move it to your chosen location. If not, use Organise>Preferences>Advanced to create a new database in the chosen location.
- Use Organise>Preferences>Advanced on all of the other computers to choose the database in its chosen location.
- Using this method, if the user who has the database open in read/write mode quits Organise, then the next computer to start Organise will get read/write access. If this isn't the user who's meant to be using read/write mode, then they must quit Organise before the desired user quits and re-starts Organise. Unlocking the database under these circumstances may well result in lost data.
Can I have more than one database?
Yes.
Method 1 - separate user accounts on your Mac
This is very simple, and also allows you to set different Preferences for each database. Use system preferences to creat a second user account on your mac. Enable 'fast user switching' to allow you to switch between accounts quickly. With Organise installed on your mac just once, when you switch user you will see a different database.
Method 2 - multiple databases for the same user
use Organise>Preferences>Advanced to create a new database, and then do the same thing to switch between them (you will have to quit and re-start Organise in between). If you stick to the default location (~/Library/Application Support/Organise/organisedatabase where ~ is your home folder) then you can simply use the 'reset' button to switch back to the first database
Unlocking the database
A limitation of Organise means that the database can only be written to by one user at a time. For this reason, a lock is put on the database when one user or computer opens the database which is released when that user quits Organise. Another user can open the same datbase but it will open in read-only mode.
The database can become locked permanently if Organise quits abnormally.
If the database has become locked after a crash and you are absolutely sure that no other user or no other computer has that database open, then Organise will unlock the database for you after a warning.
If you unlock a database which is deliberately locked then you may lose data. It will be wise to make regular copies of the database (or switch on Time Machine).
Tips
File>Database>Save a Copy will copy the database to any location or device that you choose, and place a read-only lock on it. If the computers aren't connected then you could copy the database via a memory stick.
Remember when you are making a copy of the database and moving it around that the data in the database are not encrypted.
If you have saved the database in the default location, ~/Library/Application Support/Organise/organisedatabase (where ~ is a user's home folder) then Organise should see it when it starts up. If not, you may have to go to Preferences>Advanced and choose the database.