The next tab of the Order window allows you to create a table listing any number of items, which may be drawn from the Items tab or simply enetered here as if this were a mini spreadsheet. This may be used in a number of ways.
- A list of items that constitute this order. In this case the list can be included, if desired, on the invoice (see Invoicing).
- A list of time, materials and expenses spent on this order. As above, the list can be included, if desired, on the invoice (see Invoicing).
- Used internally to list a bill of materials required to complete or make this order or commission.
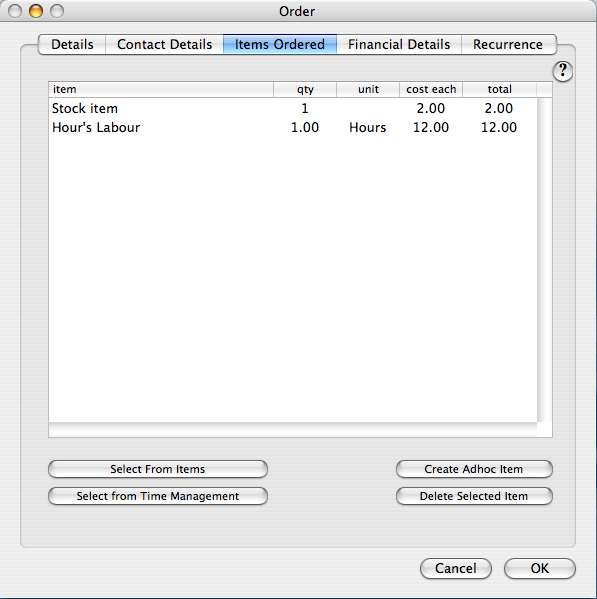
To manually enter an 'adhoc' item, click the Create Adhoc Item button. This will not create an Item in your database; it will only exist on this table. Any cell may be edited by double-clicking. Avoid typing the currency ('£' or '$') into the cost and total columns because this will be drawn from the user preferences and added when the table is printed on the invoice.
If you choose an Item from the Items list by using the Select from Items, the 'Quantity in stock' for that item will be recalculated if you have set this option on the Item. If as a result it then falls below the warning level set on that Item, then a warning message will be shown. If you edit the quantity on the Order for that item, or delete that item from the Order, the 'Quantity in stock' for that item will again be recalculated.
If you have set up some standard time items in Time Management (for example "1 hour's labour") you can add it to this list by using the Select from Time Management button.
As you enter 'quantity' and 'cost each', the entry will be validated (only numbers will be allowed) and formatted to 2 decimal places. The total will be calculated. If the BOM is to be included on the invoice (see Invoicing) then you can carry this total over into the Full value field on the Financial Details tab, by using the Calculate button.
To delete an item, highlight the row by single-clicking and use the Delete button, or the delete or backspace key.
To print this table, make sure that it is active by clicking somewhere in it and using the Print button below the table, or selecting File>Print from the menu (command-P).