Mailing address labels
 Organise can print names and addresses onto sheets of sticky labels. You can generate your page(s) from the Contacts tab, Orders tab or Reports tab.
To print all contacts, press the button 'Address labels' on the Contacts tab. The label sheet will only contain the contacts which are visible. There's more information about filtering and selecting below.
For more advanced searches such as 'billing contacts for orders still unpaid' or 'contacts who have ordered within a certain date range' you will need to use Reports. Some reports are built in. For others you can use the Report Builder tool which is bundled with Organise. Or ask for support - we'll be happy to help.
Paper size button: select your paper size (letter, A4)
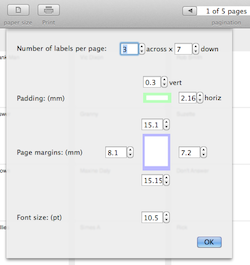 Label setup button: The labels come in a large number of layouts. Rather than try to offer presets for label sizes and layouts, Organise has a few boxes for things like padding around labels and page margins. Hopefully this will give you complete flexibility with minimum effort.
Print button: This opens the usual OSX print dialog allowing you to choose printer and some other options
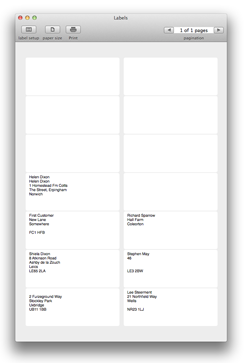
Pagination: Organise will arrange the labels on the appropriate number of pages and allow you to preview them. Obviously the standard print dialog also has its own preview.
Bulk email
Organise can export a list of email addresses (and other merge fields) suitable for mail-merging using a service such as Mailchimp, or the bundled app, Announce. Announce uses your Apple Mail app to send individual emails.
You can use the 'email list' at the bottom of the Contacts tab or the Reports tab. For the latter you'll need to use a report which contains either orders or contacts, perhaps the built-in report: 'email list - customers by order date'. The 'email list' button will export a csv file, then choose that file within Announce and compose the email. Future versions of Organise will better integrate Organise and Announce.
Selecting contacts for printing or exporting
Here are some ways to choose which contacts you print or email.
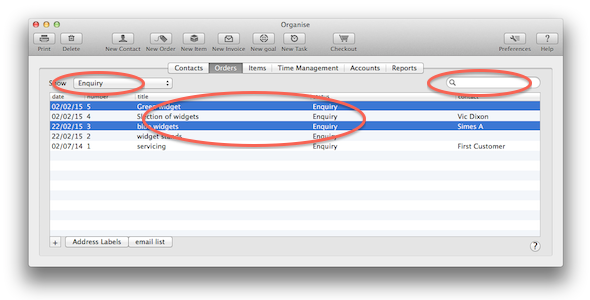
1. Use the filter to select contacts or orders with a certain category
2. Type a word(s) into the search box
3. select contacts manually. Hold down the shift key for multiple selection or cmd (Apple) key for multiple non-contiguous (random) selection. If only one item is selected in the view (which is pretty common during normal use) then the selection will be ignored and all contacts in the view will be used. More than one item must be select.